How To Make A Family Tree With The Children

Below we will talk about how to create a family tree together with the children. Come along!
A family tree is one of the most common ways to visualize one’s ancestry. It’s also a great and fun way to show kids their ancestors and older relatives.
It does not matter how you decide to create the family tree. It is a beautiful memory that you can create with the children to remember each generation. Involving your little ones in creating a family tree is not only entertaining for them, but also helps them understand their roots.
Such a tree is an excellent project, as it makes the children understand that they are part of something bigger than themselves: a family. The family tree makes it easier for them to understand their family history.
How to place each person in a family tree
As you probably know, in a family tree there is usually a box for each individual. You then draw lines between the different individuals to indicate their mutual relationships.
In addition to the name of the person , in each box you can also write the date of birth, where the person was born and perhaps even more information. It depends on how extensive information you want to have about each individual.
You place the youngest generation in the family at the bottom of the paper. Each person gets a box, and you place the oldest child on the left, and the siblings on the right.
A horizontal line indicates a marriage, and a vertical line indicates children. Circles can represent women, while squares can represent men. Children are drawn in the family tree with a vertical line from the mother or the marriage.
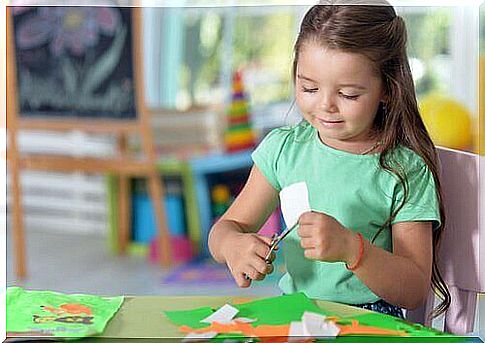
How to make a family tree with the kids
Before we start explaining in detail how to make a family tree with the children, we will take a look at what materials you need.
Among other things, you will need a sheet of paper, plus a sheet of brown paper and a sheet of green paper. You will also need pictures of the family members, plus scissors, rulers, glue, pencils, erasers and various colored sheets of paper.
How to do it – step by step
This is a simple and fun project. In a few simple steps, you can create a family tree together with your little one. Do this:
- First, use the brown sheet of paper and a pencil. Draw the outlines of a tree with different branches and twigs that represent the different family members. If you do not have a brown paper, you can color by hand.
- Then, take a pair of scissors and carefully cut out the tree. Glue it on a white sheet of paper.
- Draw the outlines of the leaves on the green sheet of paper, cut them out and place them on the tree.
- Then take the colored papers to cut out circles, where each family member should be placed. If you want, you can also cut out some squares.
- Once you have cut out the circles, it is time to glue the family photos on them. Do not forget that grandparents should be placed above the parents, at the top of the tree, while the children should be placed at the bottom, below the parents. Brothers and sisters are placed in the order in which they were born, from left to right.

- Now it’s time to decorate and color the tree. Here you can unleash your creativity and draw birds, animals, etc.
- Finish by putting a title for the family tree. The child is allowed to write the title.
Invite your child to this fun activity
We hope that our tips have inspired you and made you want to sit down and enjoy this activity with your little ones.
This is an exercise that will help your children better understand the structure and history of your family. It’s a fun way to bring your family history to life!

